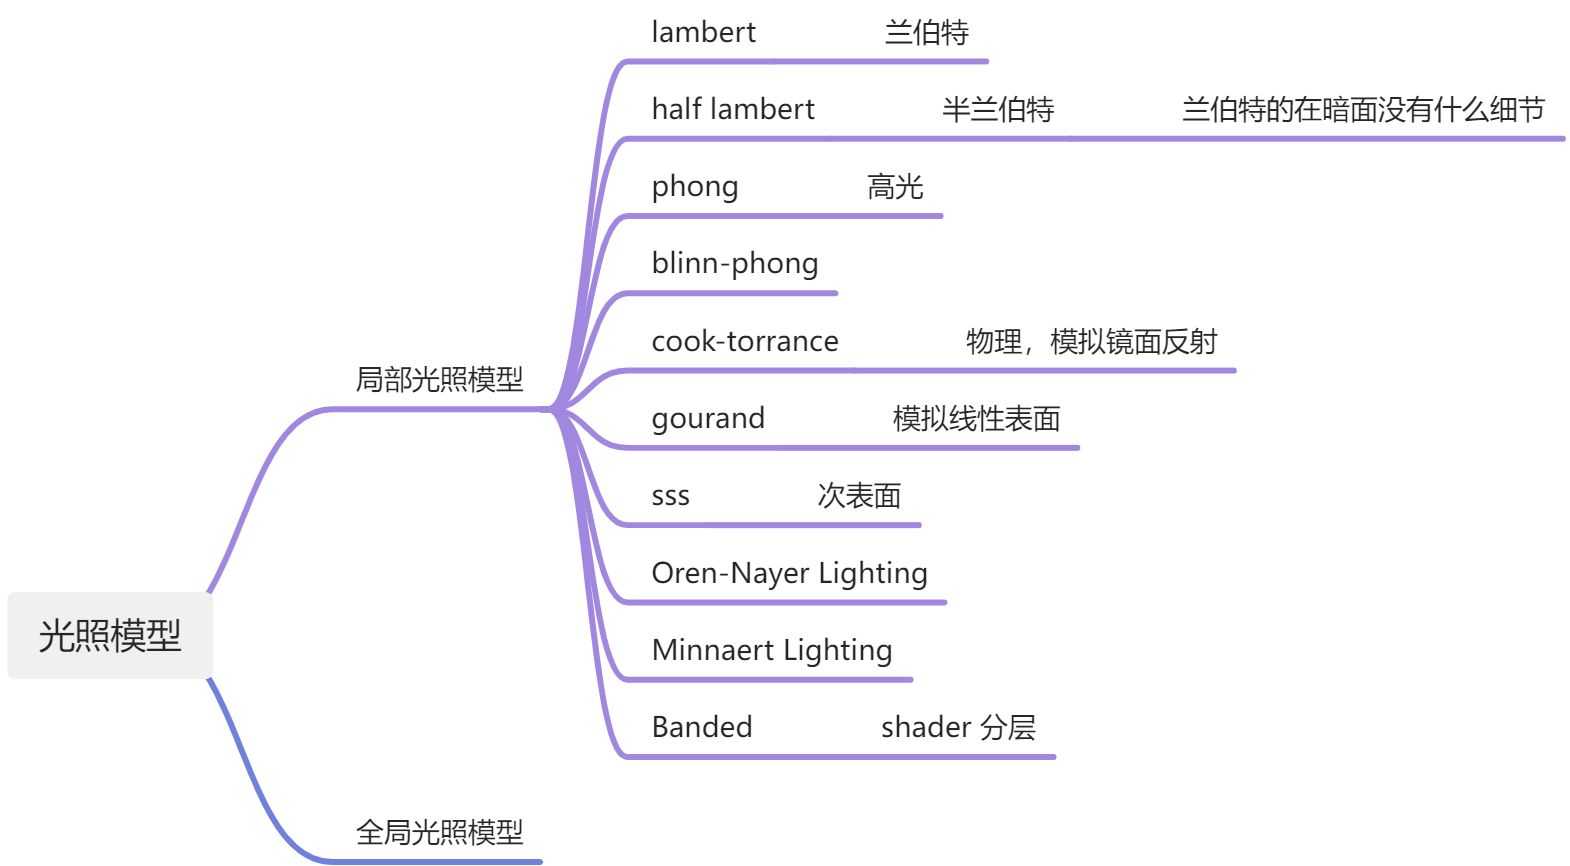
GPU渲染管线:
Vertex Shader
GeometryShader
Clipping 可配置
ScreenMapping 动不了
--- 几何阶段
TriangleSetup 动不了
TriangleTraversal 动不了
PixelShader
Merger
--- 光栅化阶段
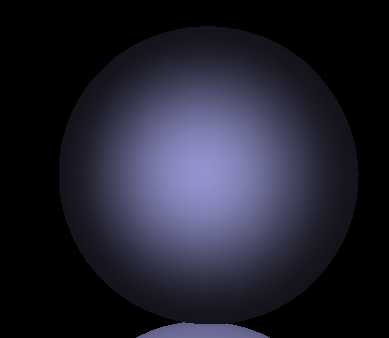
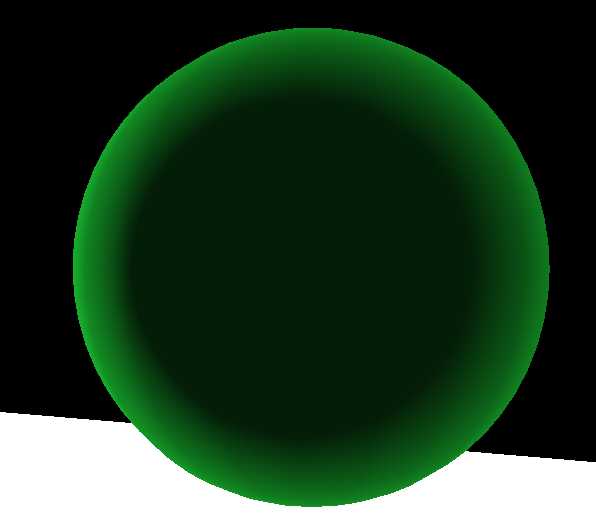
兰伯特材质
#include "Light.hlsl"
#include "Material.hlsl"

cbuffer MeshConstantBuffer : register(b0) // b0~b14
{
    float4x4 WorldMatrix;
};

cbuffer ViewportConstantBuffer : register(b1)
{
    float4x4 ViewProjectionMatrix;
};

cbuffer MaterialConstantBuffer : register(b2)
{
    float4 BaseColor;
    float4x4 TransformInfo;
};

cbuffer LightConstantBuffer : register(b3)
{
    float3 LightIntensity;
    float3 LightDirection;
};

struct MeshVertexIn
{
    float3 Position : POSITION;
    float4 Color : COLOR;
    float3 Normal : NORMAL;
};

struct MeshVertexOut
{
    float4 Position : SV_POSITION;
    float4 Color : COLOR;
    float3 Normal : NORMAL;
};

MeshVertexOut VSMain(MeshVertexIn MV)
{
    MeshVertexOut Out;

    float4 Position = mul(float4(MV.Position, 1.0f), WorldMatrix);
    Out.Position = mul(Position, ViewProjectionMatrix);
    Out.Normal = mul(MV.Normal, (float3x3)WorldMatrix);
    Out.Color = MV.Color;
    return Out;
}

float4 PSMain(MeshVertexOut MVOut) : SV_TARGET
{
    float4 Ambient = float4(0.05f, 0.05f, 0.15f, 1.0f);

    float3 ModelNormal = normalize(MVOut.Normal);
    float3 ModelLightDirection = normalize(-LightDirection);
    float DotValue = max(dot(ModelNormal, ModelLightDirection), 0.0);

    FMaterial Material;
    Material.BaseColor = BaseColor;
    MVOut.Color = Material.BaseColor * DotValue + Ambient * MVOut.Color;

    return MVOut.Color;
}
法线 点乘 光方向 乘 材质基础颜色 + 环境光 * 材质基础颜色
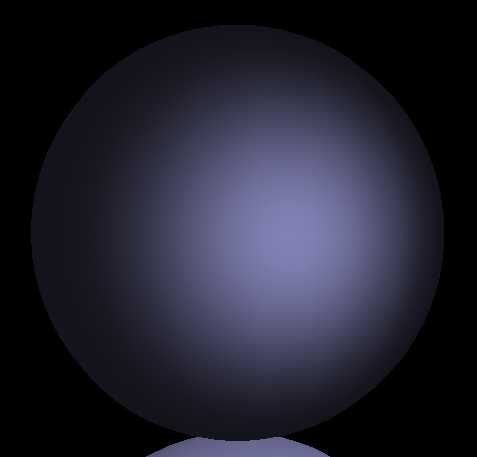
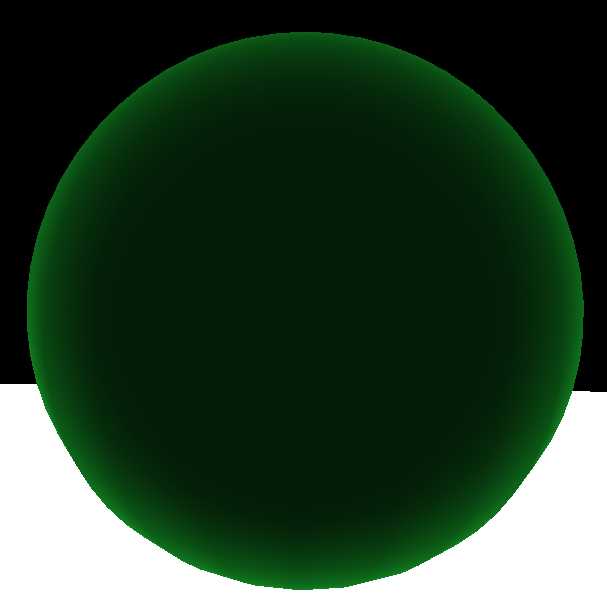
半兰伯特
经验模型
点乘算的是cos,是【-1,1】结果 * 0.5 + 0.5 就是半兰伯特
float DotValue = max(dot(ModelNormal, ModelLightDirection) * 0.5 + 0.5, 0.0);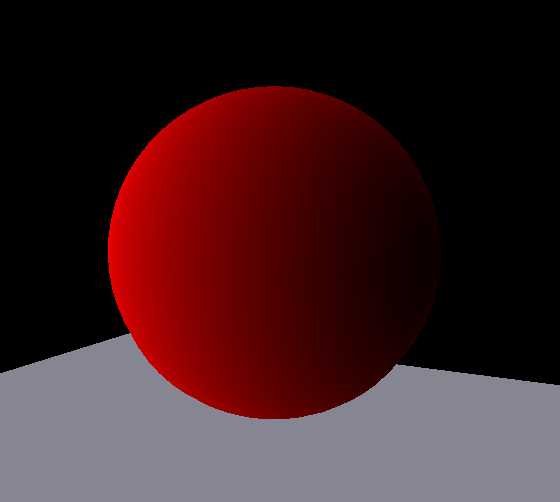
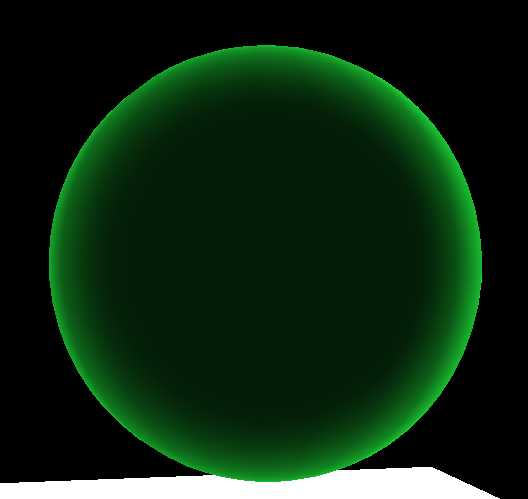
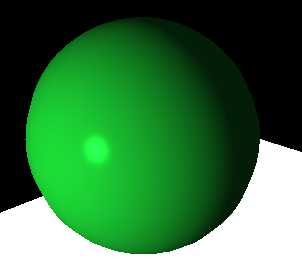
Phong
为了模拟金属高光
P = 漫反射 + 环境光 + 高光
高光 = BaseColor * COS(视角方向,光反射方向) ^ G (G默认是5)
G 可以调整亮斑的大小

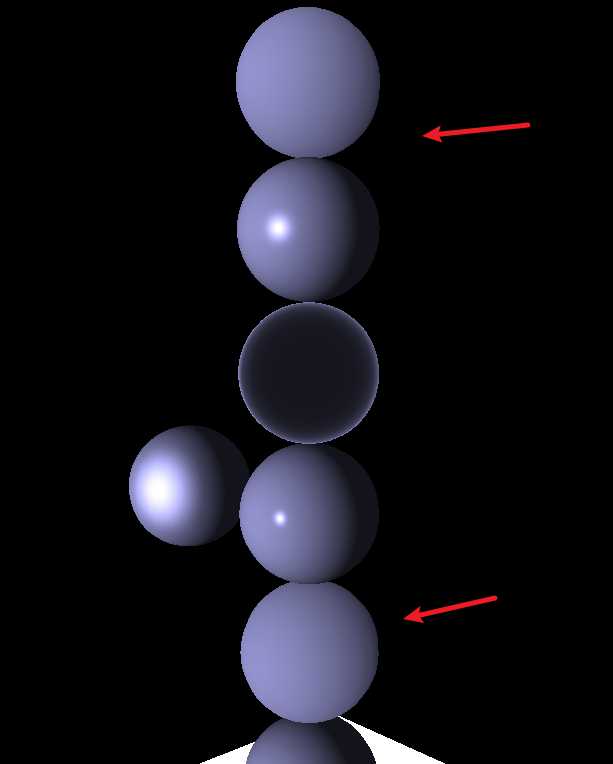
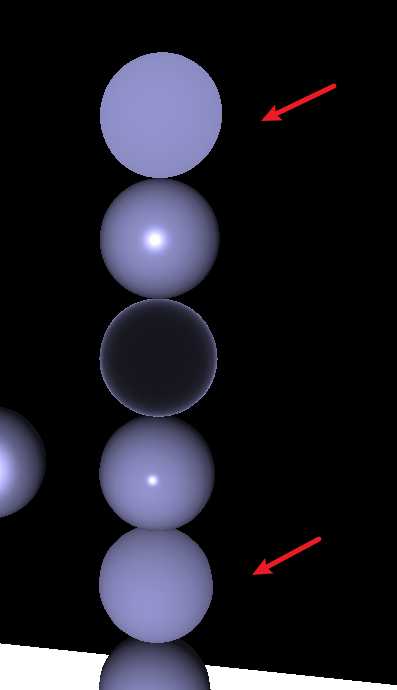
最上面是Phone
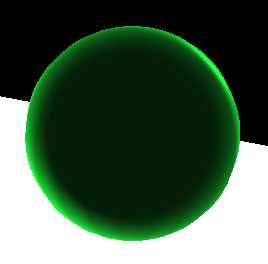
菲涅尔效果
模拟周围一圈的边缘光
    else if (MaterialType == 100) { // 菲涅尔效果,不是材质
        float3 ViewDirection = normalize(ViewportPosition.xyz - MVOut.WorldPosition.xyz);
        float4 F0 = float4(0.0f, 0.0f, 0.0f, 0.0f);
        Specular.xyz = FresnelSchlick(F0, ModelNormal, ViewDirection);
    }
float3 FresnelSchlick(float3 InF0, float3 ObjectPointNormal, float3 InDirection)
{
return 1.f - max(dot(InDirection, ObjectPointNormal), 0.f);
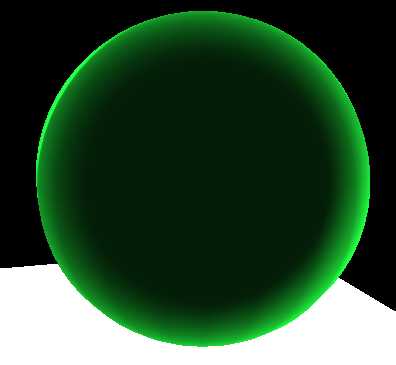
}调整边缘光的范围用pow
float3 FresnelSchlick(float3 InF0, float3 ObjectPointNormal, float3 InDirection)
{
    float M = 0.5f;
    return pow(1.f - saturate(dot(InDirection, ObjectPointNormal)), M);
}
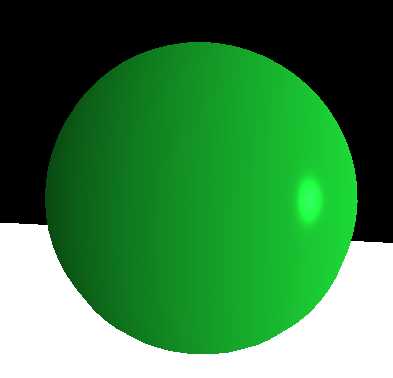
float3 FresnelSchlick(float3 InF0, float3 ObjectPointNormal, float3 InDirection)
{
float M = 5.f;
return (1 - InF0) * pow(1.f - saturate(dot(InDirection, ObjectPointNormal)), M);
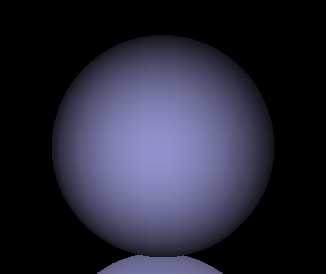
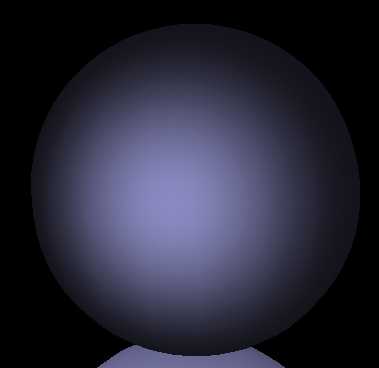
}左边到右边,InF0的值调大了。

左边F0。0.02 右边 0.7
加上了基础颜色F0
float3 FresnelSchlick(float3 InF0, float3 ObjectPointNormal, float3 InDirection)
{
    float M = 5.f;
    return InF0 + (1 - InF0) * pow(1.f - saturate(dot(InDirection, ObjectPointNormal)), M);
}
BlinnPhong 布林Phong
目的是反射比较耗
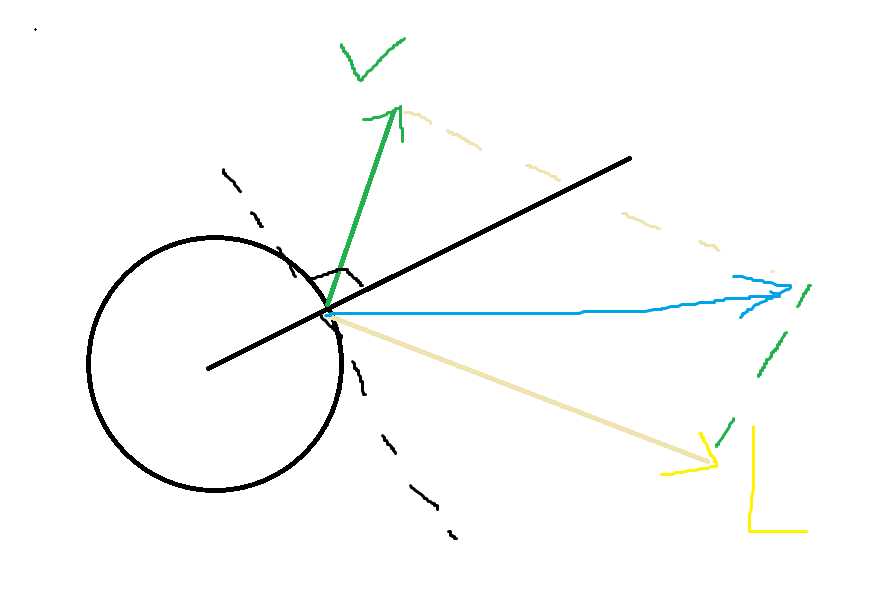
L是光,V是视角,如果在法线的两边,L+V得到蓝色的可以直接当作反射光线。
但是如果在同一边,显然是错误的。
但是不管加出来在哪边,都可以和法线进行cos来获得反射强度
else if (MaterialType == 3) {
float3 ViewDirection = normalize(ViewportPosition.xyz - MVOut.WorldPosition.xyz);
float3 HalfDirection = normalize(ViewDirection + ModelLightDirection);
DotValue = max(Diffuse, 0.0);
if (DotValue > 0) { // 为了暗处不发光
float MaterialShininess = 1.01f - saturate(MaterialRoughness); // saturate 限制在0~1
float M = MaterialShininess * 100.f;
Specular.xyz = pow(max(dot(HalfDirection, ModelNormal), 0.f), M);
}
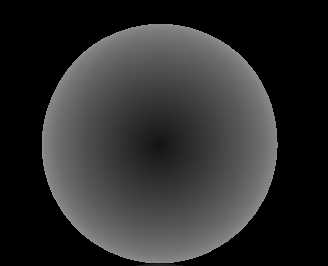
}WrapLight
皮肤模拟,早期经验模型。
半兰伯特是这样的 max(dot(L, N) * 0.5 + 0.5, 0)
WrapLight 公式: max(dot(L, N) + w / (1 + w), 0);
模拟皮肤的通透效果
1的时候就是兰伯特
else if (MaterialType == 4) {
float WrapValue = 1.f; // 1的时候就是兰伯特
DotValue = max((Diffuse + WrapValue) / (1.f + WrapValue), 0.0);
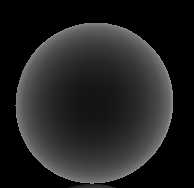
}Minnaert
解决月球材质,天鹅绒,丝袜
公式:
dot(L, N) dot(N, V)
dot(L, N) pow(dot(L, N) * dot(N, V), R)
一个基础,一个效果加深。R是粗糙度。
    else if (MaterialType == 5) { // Minnaert
        float3 ViewDirection = normalize(ViewportPosition.xyz - MVOut.WorldPosition.xyz);
        float DotLight = max(Diffuse, 0.0);
        float DotView = max(dot(ViewDirection, ModelNormal), 0.0);

        DotValue = DotLight * DotView;
    }
为了让他亮的更亮,暗的更暗,所以加个pow
    else if (MaterialType == 5) { // Minnaert
        float3 ViewDirection = normalize(ViewportPosition.xyz - MVOut.WorldPosition.xyz);
        float DotLight = max(Diffuse, 0.0);
        float DotView = max(dot(ViewDirection, ModelNormal), 0.0);

        float R = 2.f;
        DotValue = pow(DotLight * DotView, R);
    }
    else if (MaterialType == 5) { // Minnaert
        float3 ViewDirection = normalize(ViewportPosition.xyz - MVOut.WorldPosition.xyz);
        float DotLight = max(Diffuse, 0.0);
        float DotView = max(dot(ViewDirection, ModelNormal), 0.0);

        float R = 2.f;
        DotValue = saturate(DotLight * pow(DotLight * DotView, R));
    }
加强了光的影响
    else if (MaterialType == 5) { // Minnaert
        float3 ViewDirection = normalize(ViewportPosition.xyz - MVOut.WorldPosition.xyz);
        float DotLight = max(Diffuse, 0.0);
        float DotView = max(dot(ViewDirection, ModelNormal), 0.0);

        float MaterialShininess = 1.01f - saturate(MaterialRoughness); // saturate 限制在0~1
        float M = MaterialShininess * 20.f;
        DotValue = saturate(DotLight * pow(DotLight * DotView, M));
    }
然后把Paw的倍数和粗糙度关联
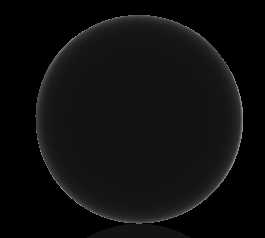
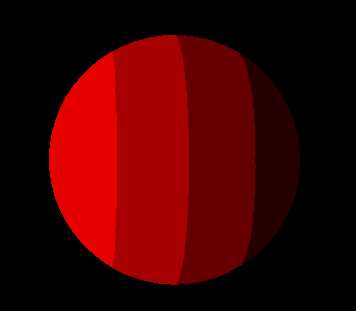
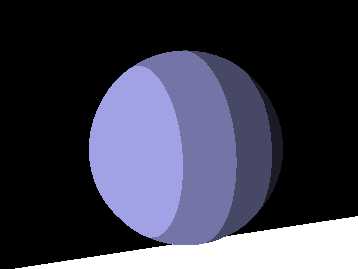
卡通材质 Banded
else if (MaterialType == 6) { // Banded
DotValue = max(Diffuse, 0.0);
float Layered = 3.f;
DotValue = floor(Diffuse);
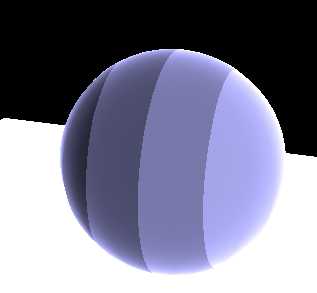
}我们直接向上取整。在兰伯特的基础上,这样就分层了
    else if (MaterialType == 6) { // Banded
        DotValue = max(Diffuse, 0.0);
        float Layered = 3.f;
        DotValue = floor(Diffuse * Layered) / Layered;
    }
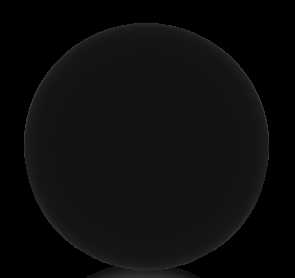
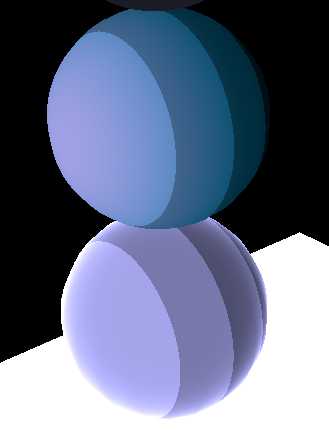
兰伯特黑处太黑了,所以我们要半兰伯特。
    else if (MaterialType == 6) { // Banded
        Diffuse = (Diffuse + 1.f) * 0.5f; // 限制范围0~1
        float Layer = 4.f;
        DotValue = floor(Diffuse * Layer) / Layer;
    }
加上菲涅尔
渐变的卡通材质 Banded
    else if (MaterialType == 7) { // GradualBanded
        float LightDotValue = Diffuse; // 先存一下
        Diffuse = (Diffuse + 1.f) * 0.5f; // 限制范围0~1
        float Layer = 4.f;

        float4 Color2 = float4(0.1f, 0.5f, 0.7f, 1.f);
        DotValue = floor(Diffuse * Layer) / Layer;

        Material.BaseColor = lerp(Color2, Material.BaseColor, LightDotValue);
    }
最终版卡通材质
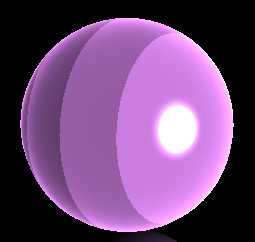
else if (MaterialType == 8) { // FinalBanded
// 半兰伯特思想
Diffuse = (Diffuse + 1.f) * 0.5f; // 限制范围0~1
// 分层
float Layered = 4.f;
DotValue = floor(Diffuse * Layered) / Layered;
// 菲涅尔
float3 ViewDirection = normalize(ViewportPosition.xyz - MVOut.WorldPosition.xyz);
float3 F0 = float3(0.05f, 0.05f, 0.05f);
Specular.xyz = FresnelSchlick(F0, ModelNormal, ViewDirection, 3.f).xyz;
// 高光
if (DotValue > 0.f)
{
float3 ReflectDirection = normalize(-reflect(ModelLightDirection, ModelNormal));
float MaterialShininess = 1.01f - saturate(MaterialRoughness); // saturate 限制在0~1
float M = MaterialShininess * 60.f;
Specular = Specular + pow(max(dot(ViewDirection, ReflectDirection), 0.f), M) / 0.032f; // 经验值
}
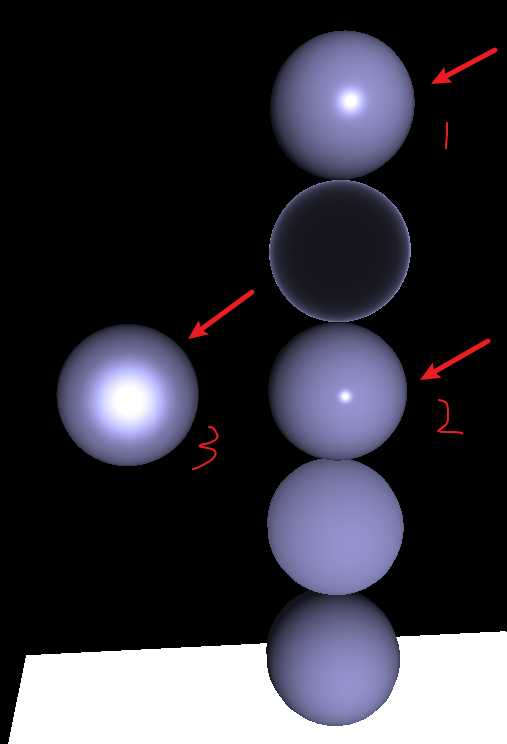
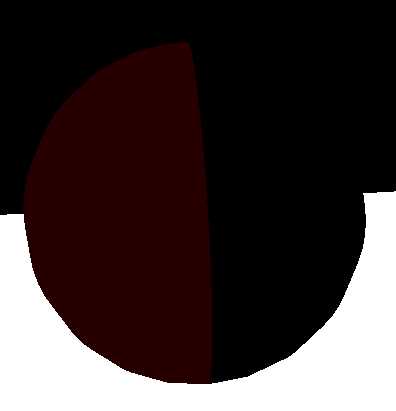
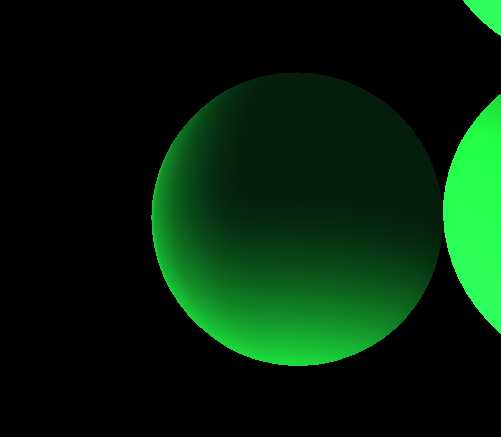
}Back模型
玉的透色效果
正面是Phong或者warp。
背面
    else if (MaterialType == 9) { // Back玉器具
        // Color(2, 214, 17)
        float SSSValue = 0.3f;
        float3 LightNormalizeValue = -normalize(ModelNormal * SSSValue  + ModelLightDirection); // 效果做到背面

        float3 ViewDirection = normalize(ViewportPosition.xyz - MVOut.WorldPosition.xyz);

        DotValue = saturate(dot(LightNormalizeValue, ViewDirection));

    }
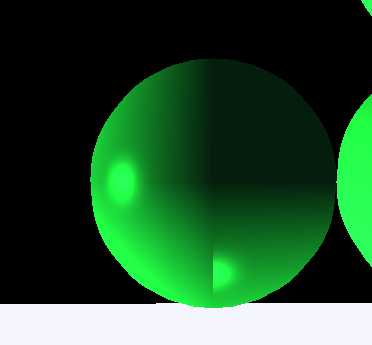
SSS改成1.3
希望它边缘更加pow一点
else if (MaterialType == 9) { // Back玉器具
// Color(2, 214, 17)
float SSSValue = 1.3f;
float3 LightNormalizeValue = -normalize(ModelNormal * SSSValue + ModelLightDirection); // 效果做到背面
float3 ViewDirection = normalize(ViewportPosition.xyz - MVOut.WorldPosition.xyz);
DotValue = pow(saturate(dot(LightNormalizeValue, ViewDirection)), 2.f);
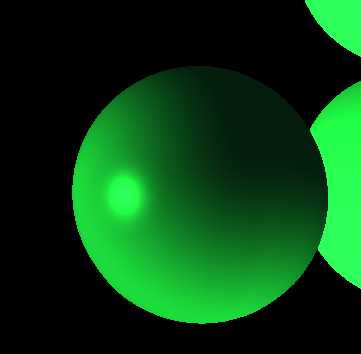
}发现光收紧了,但是变暗了,所以再最后再乘一个系数 2
    else if (MaterialType == 9) { // Back玉器具
        // Color(2, 214, 17)
        float SSSValue = 1.3f;
        float3 LightNormalizeValue = -normalize(ModelNormal * SSSValue  + ModelLightDirection); // 效果做到背面

        float3 ViewDirection = normalize(ViewportPosition.xyz - MVOut.WorldPosition.xyz);

        DotValue = pow(saturate(dot(LightNormalizeValue, ViewDirection)), 2.f) * 2.f;

    }
直接把Phone粘过来。正面和背面效果
    else if (MaterialType == 9) { // Back玉器具
        // Color(2, 214, 17)
        float SSSValue = 1.3f;
        float3 LightNormalizeValue = -normalize(ModelNormal * SSSValue  + ModelLightDirection); // 效果做到背面
        float3 ViewDirection = normalize(ViewportPosition.xyz - MVOut.WorldPosition.xyz);

        float TransmissionIntensity = 2.f;
        float TransmissionScope = 1.5f;

        DotValue = pow(saturate(dot(LightNormalizeValue, ViewDirection)), TransmissionScope) * TransmissionIntensity;

        // Phone 部分
        float3 ReflectDirection = normalize(-reflect(ModelLightDirection, ModelNormal));

        DotValue += max(Diffuse, 0.0);
        if (DotValue > 0) { // 为了暗处不发光
            float MaterialShininess = 1.01f - saturate(MaterialRoughness); // saturate 限制在0~1
            float M = MaterialShininess * 100.f;
            Specular.xyz = pow(max(dot(ViewDirection, ReflectDirection), 0.f), M);
        }
    }
加上wrap
    else if (MaterialType == 9) { // Back玉器具
        // Color(2, 214, 17)
        float SSSValue = 1.3f;
        float3 LightNormalizeValue = -normalize(ModelNormal * SSSValue  + ModelLightDirection); // 效果做到背面
        float3 ViewDirection = normalize(ViewportPosition.xyz - MVOut.WorldPosition.xyz);

        float TransmissionIntensity = 2.f;
        float TransmissionScope = 1.5f;

        DotValue = pow(saturate(dot(LightNormalizeValue, ViewDirection)), TransmissionScope) * TransmissionIntensity;

        // Phone 部分
        float3 ReflectDirection = normalize(-reflect(ModelLightDirection, ModelNormal));

        DotValue += max(Diffuse, 0.0);
        if (DotValue > 0) { // 为了暗处不发光
            float MaterialShininess = 1.01f - saturate(MaterialRoughness); // saturate 限制在0~1
            float M = MaterialShininess * 100.f;
            Specular.xyz = pow(max(dot(ViewDirection, ReflectDirection), 0.f), M);
        }

        float WrapValue = 1.5f; // 1的时候就是兰伯特
        DotValue = max((Diffuse + WrapValue) / (1.f + WrapValue), 0.0);
    }
各项异性
做头发的效果,
TBN
OrenNayar
粗糙表面,沙面
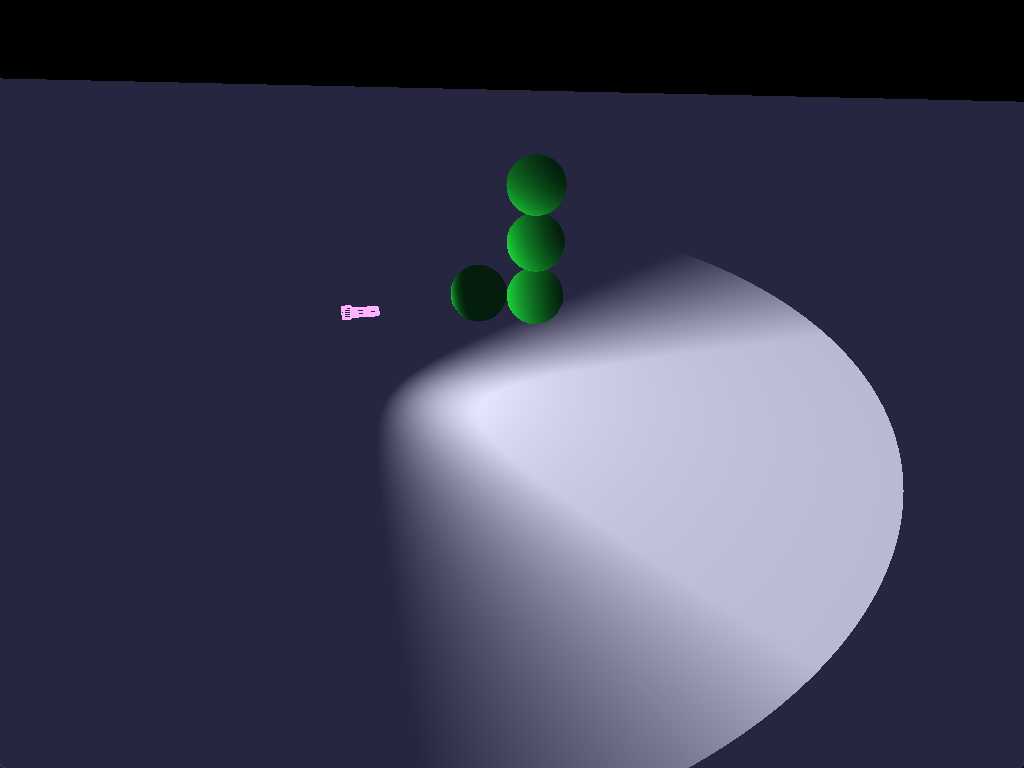
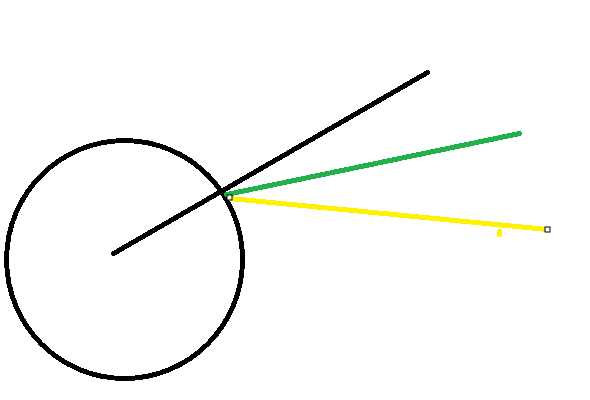
兰伯特多灯光渲染的问题
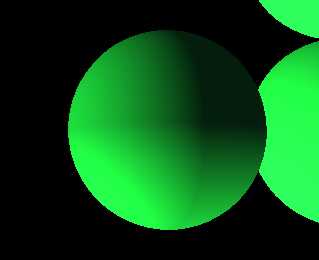
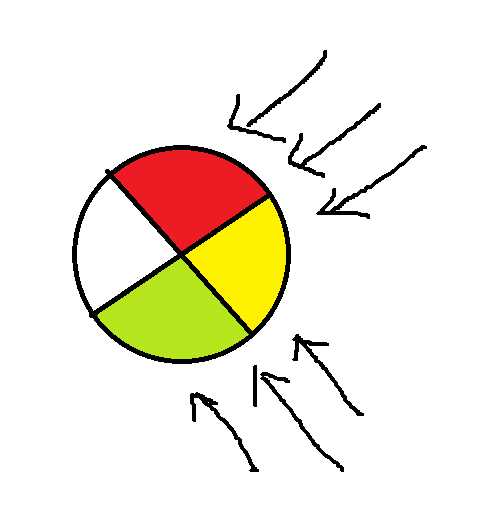
两灯光方向如图,黄色部分收到两个灯光影响。在交界处,灯光垂直,变成0了。出现了一条线。
解决方案是平方一下
        if (MaterialType == 0) { // 兰伯特
            DotValue = pow(max(Diffuse, 0.0), 2.f);
        }
效果更平滑一线。
多灯光与布林Phong
原来
        else if (MaterialType == 3) { // Blinn-Phone
            float3 ViewDirection = normalize(ViewportPosition.xyz - MVOut.WorldPosition.xyz);
            float3 HalfDirection = normalize(ViewDirection + ModelLightDirection);

            DotValue = max(Diffuse, 0.0);
            if (DotValue > 0) { // 为了暗处不发光
                float MaterialShininess = 1.01f - saturate(MaterialRoughness); // saturate 限制在0~1
                float M = MaterialShininess * 100.f;
                Specular.xyz = pow(max(dot(HalfDirection, ModelNormal), 0.f), M);
            }
        }
现在
        else if (MaterialType == 3) { // Blinn-Phone
            float3 ViewDirection = normalize(ViewportPosition.xyz - MVOut.WorldPosition.xyz);
            float3 HalfDirection = normalize(ViewDirection + ModelLightDirection);

            DotValue = pow(max(Diffuse, 0.0), 2.f);

            float MaterialShininess = 1.01f - saturate(MaterialRoughness); // saturate 限制在0~1
            float M = MaterialShininess * 100.f;
            Specular.xyz = pow(max(dot(HalfDirection, ModelNormal), 0.f), M);
        }
归一化模型:
没听懂
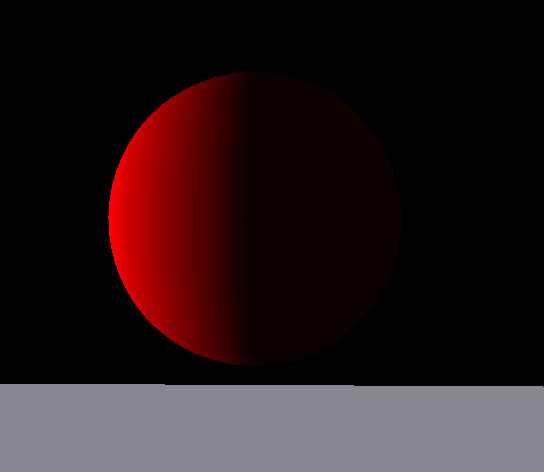
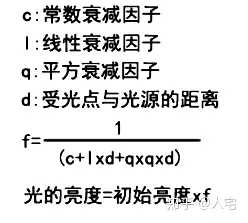
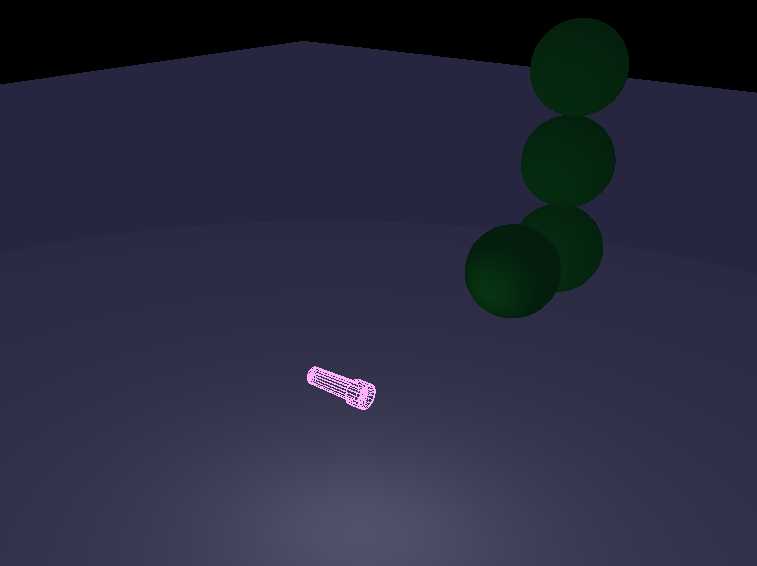
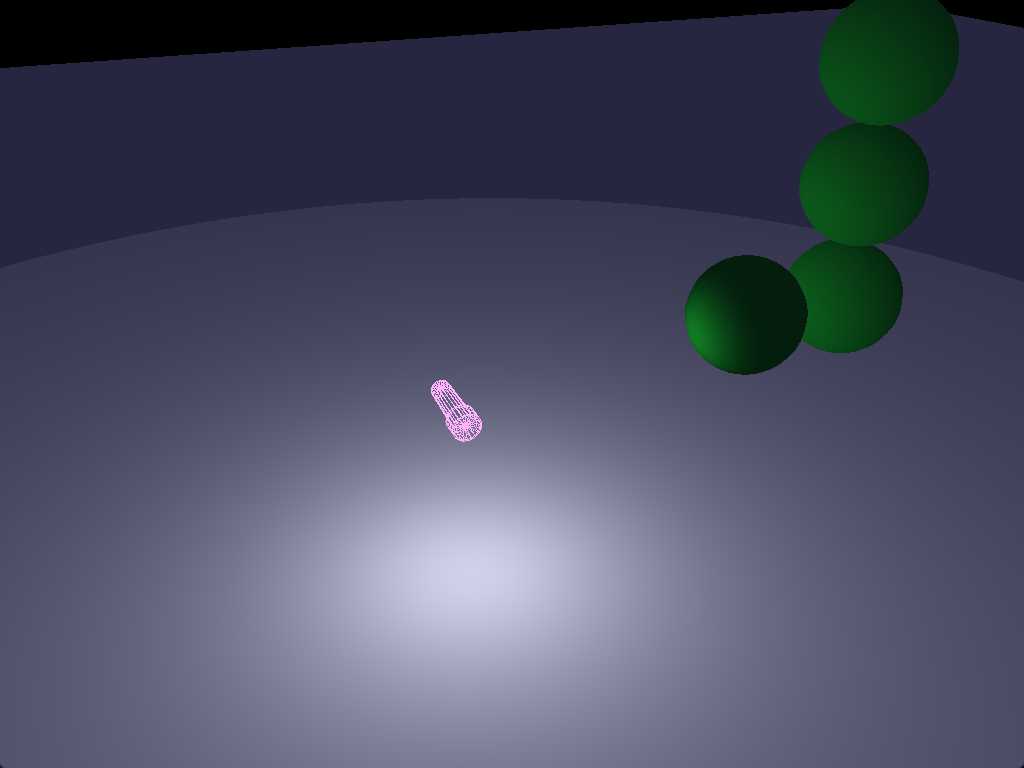
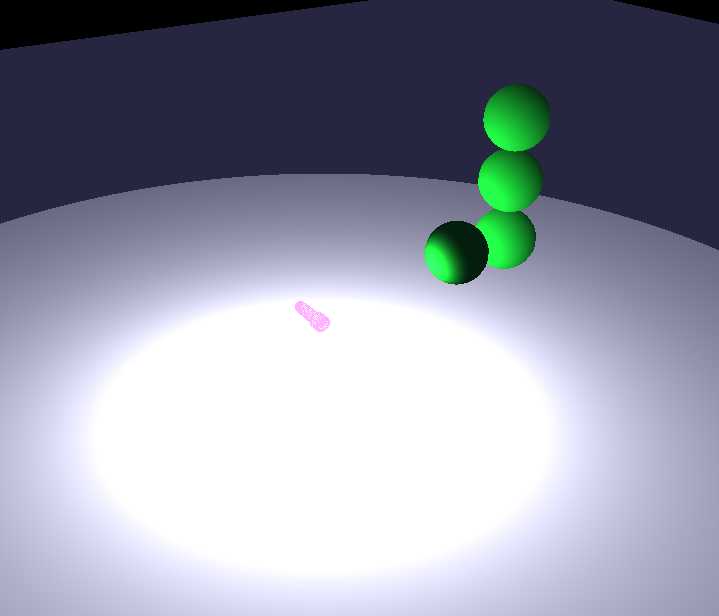
点光源

放大地面后
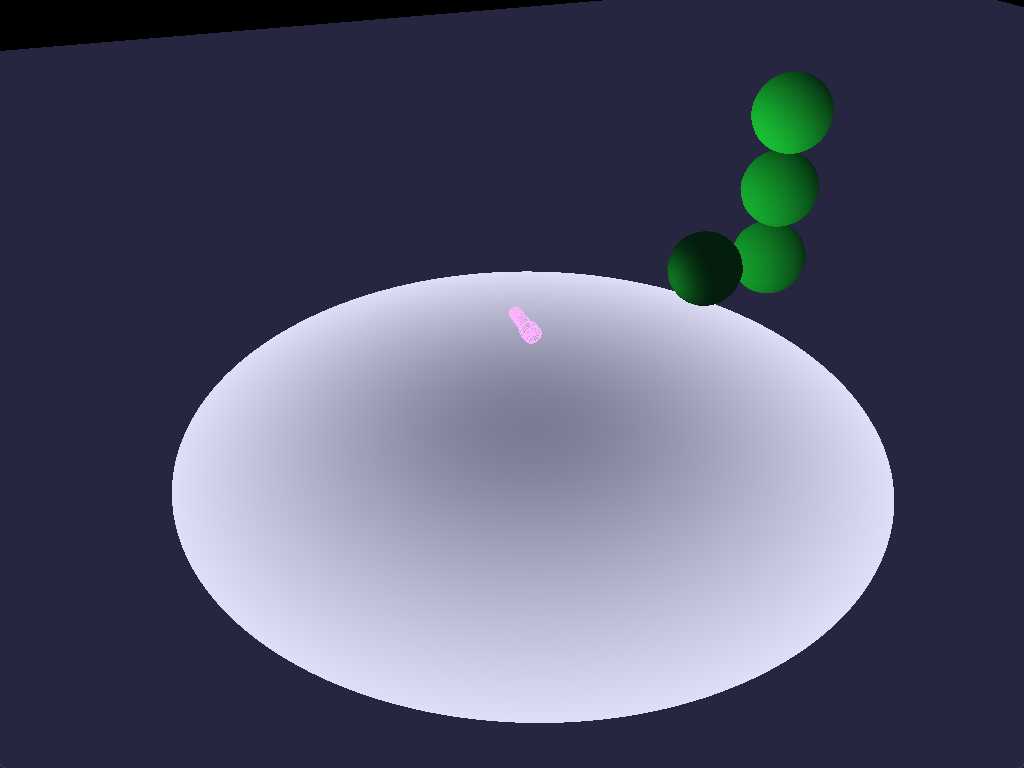
强度加倍
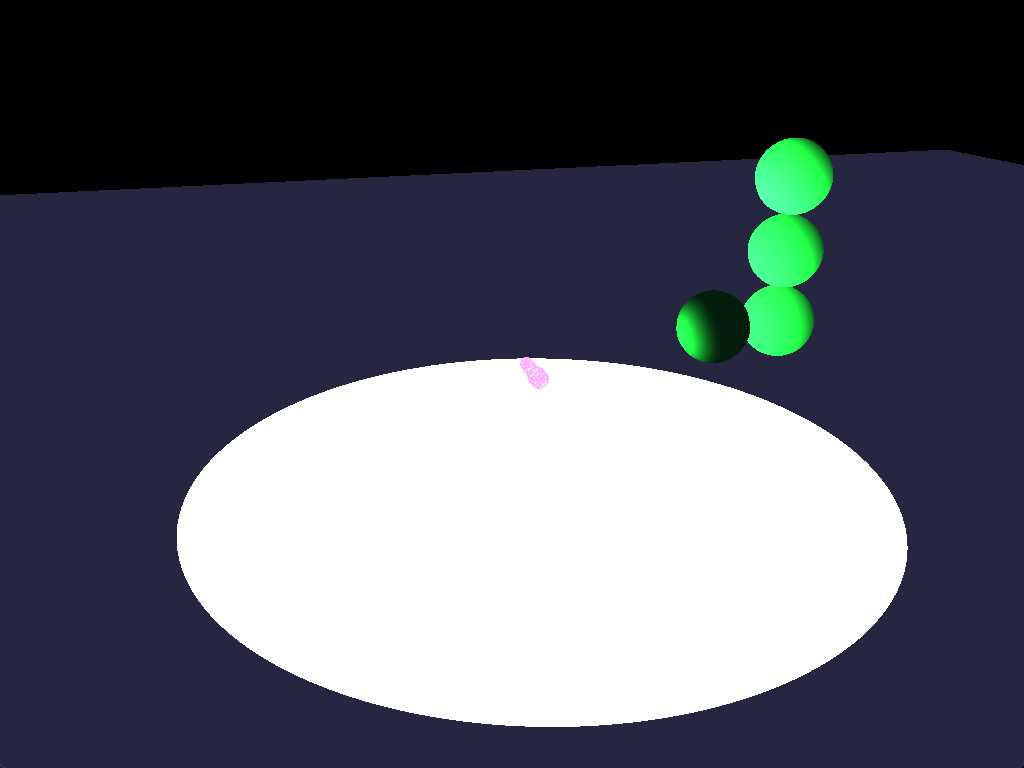
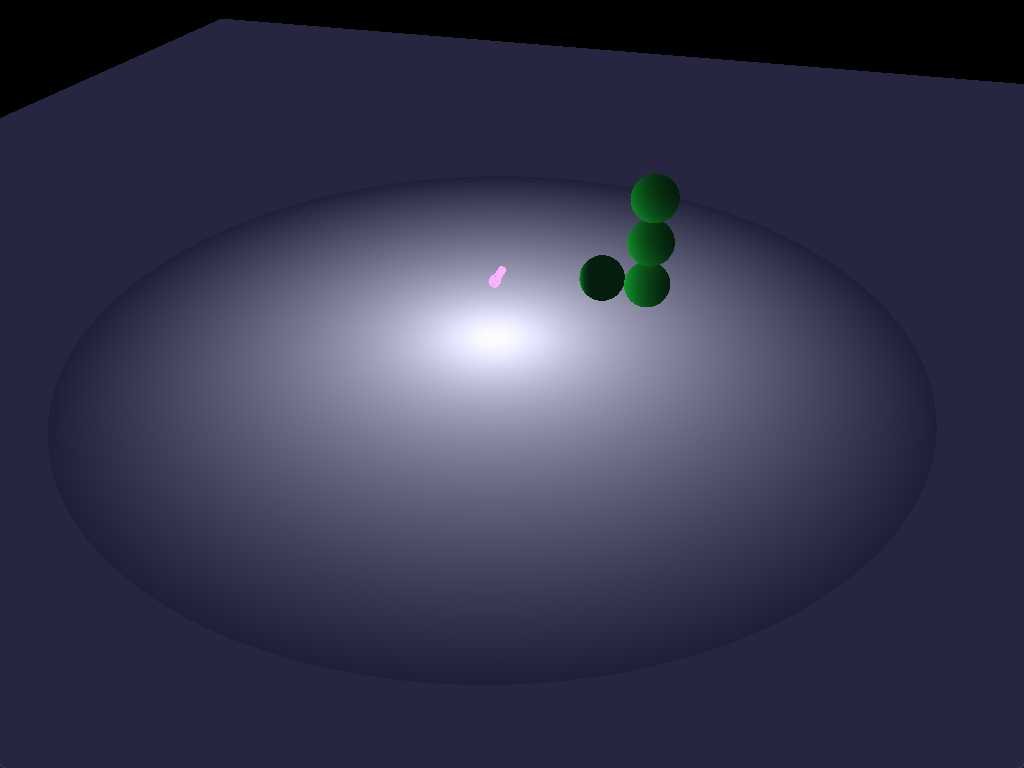
发现上上张图有问题,中间黑了,调整了下公式。
另一种点光源算法:
https://zhuanlan.zhihu.com/p/54855509
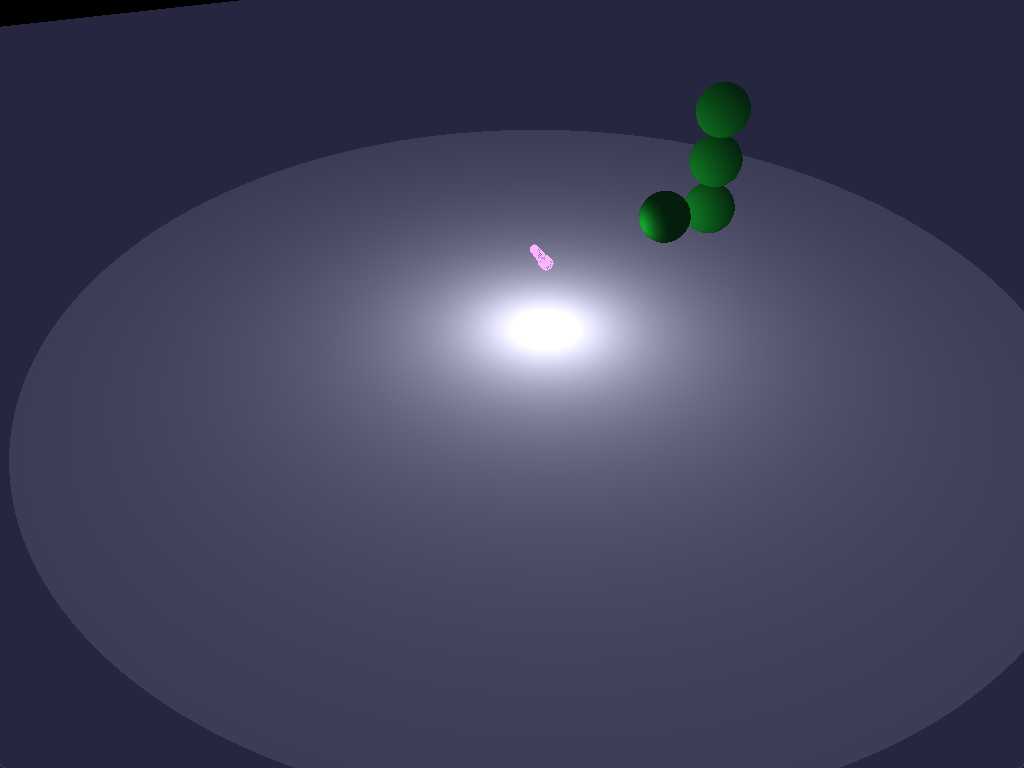
聚光灯